Usage
How to use
If you want to get started right away, please open project.godot located in the demo folder from the Godot Engine editor. (Instructions on how to run the demo are provided below in this document)
If you want to use it in your own project, please copy the contents of the addons folder located in the demo folder to the project you wish to use.
If an addons folder already exists, please copy the contents of the gd_cubism folder.
| The addons folder is a designated folder for storing programs that extend the Godot Engine, such as GDCubism. |
Easy to use (from Editor)
Describes how to import a Live2D model and view it in Sprite2D.
|
This explanation is based on version 0.8. Starting from version 0.9, direct rendering is implemented, and textures to reflect rendering results are no longer required. An updated explanation is currently being prepared. |
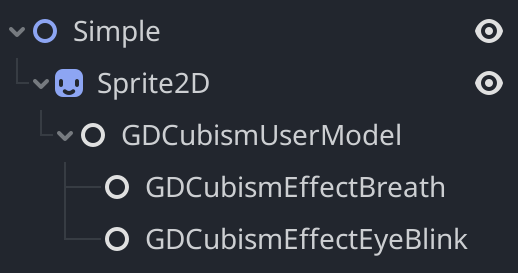
Loading Live2D Models
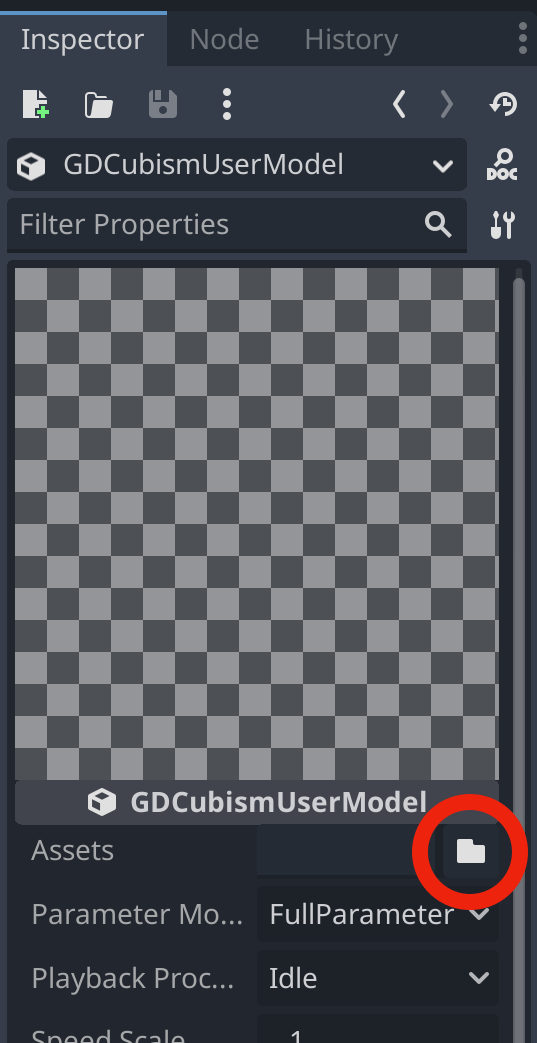
Select GDCubismUserModel from the node list and press the file selection button to the right of the Assets item.
A file selection dialog will appear, from which you can select any *.model3.json file.
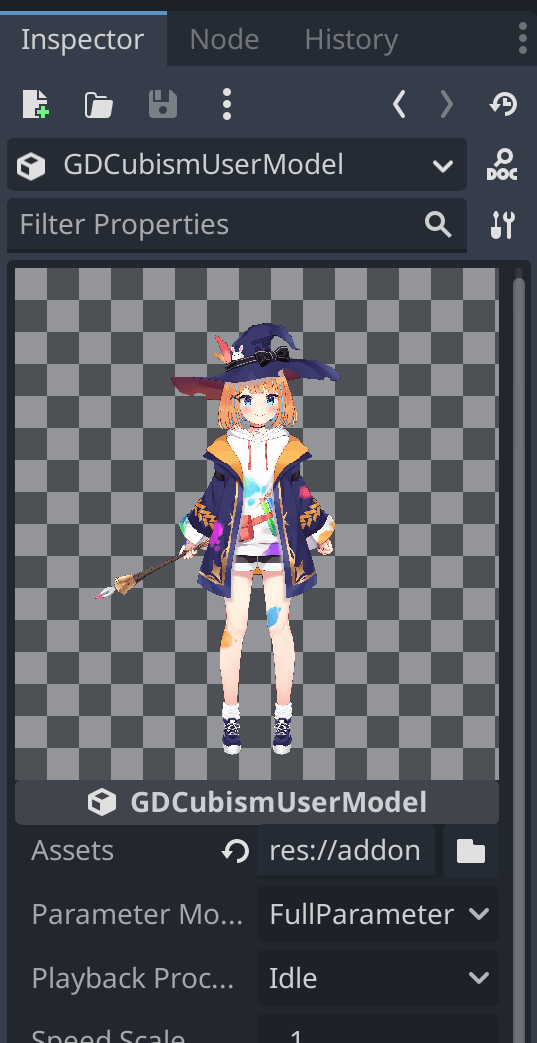
Are you seeing a Live2D model?
Once the Live2D model is loaded correctly, the preview screen displays the Live2D model.
Assign to Sprite2D texture
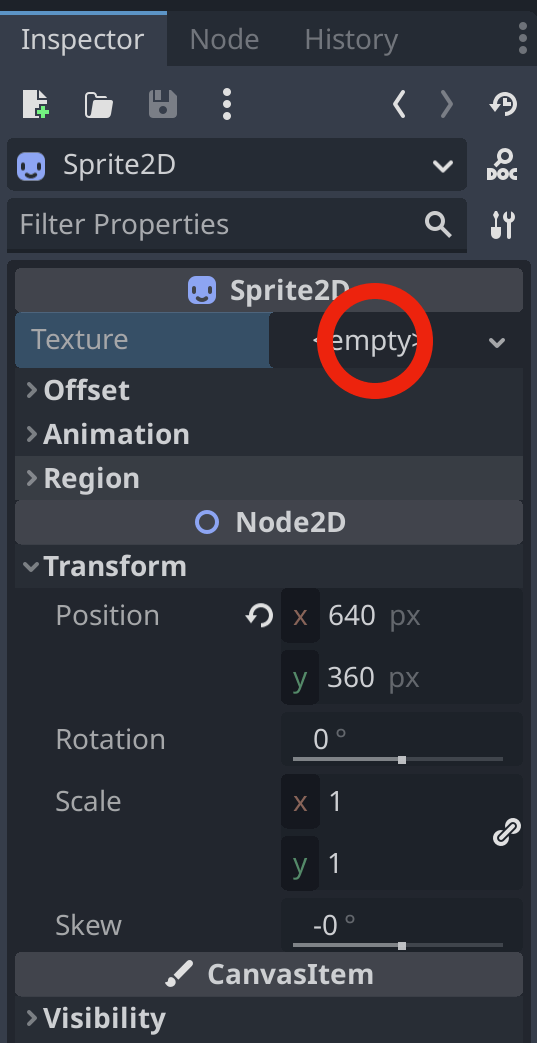
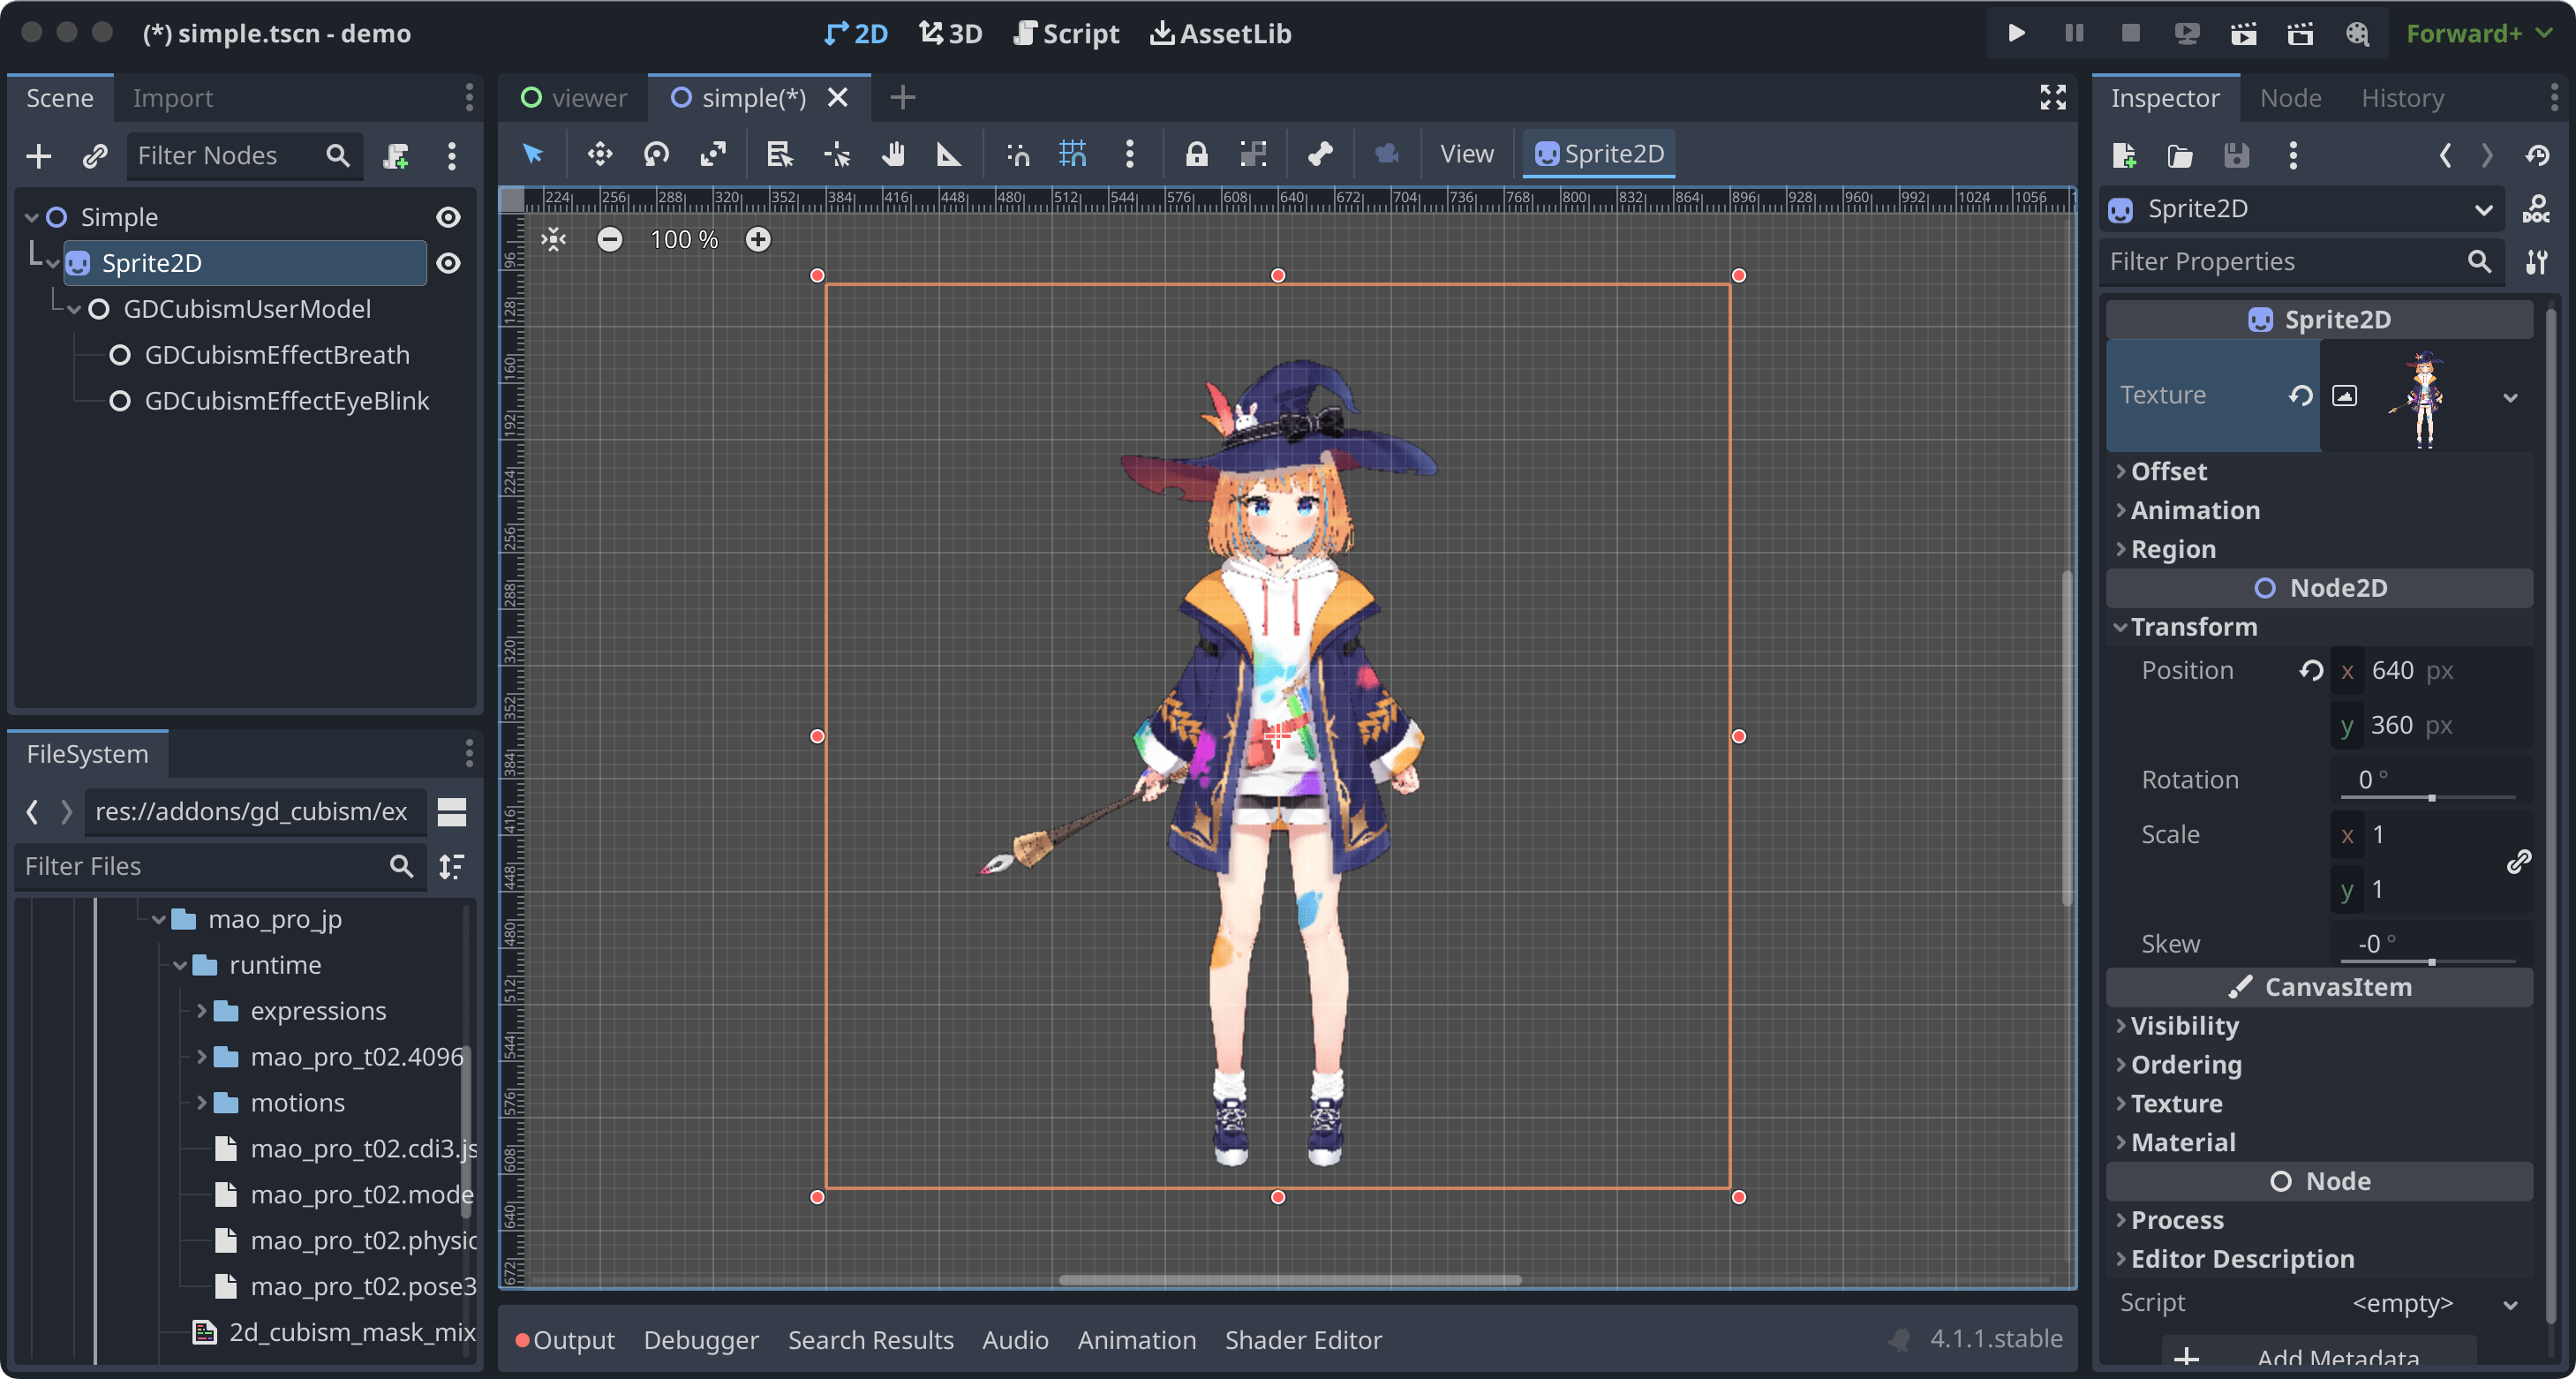
Then select the Sprite2D node to open the Texture item.
When you select ''New ViewportTexture'' from the list, a dialog to select Viewport will appear, select GDCubismUserModel.
The Live2D model is displayed in the Texture field.
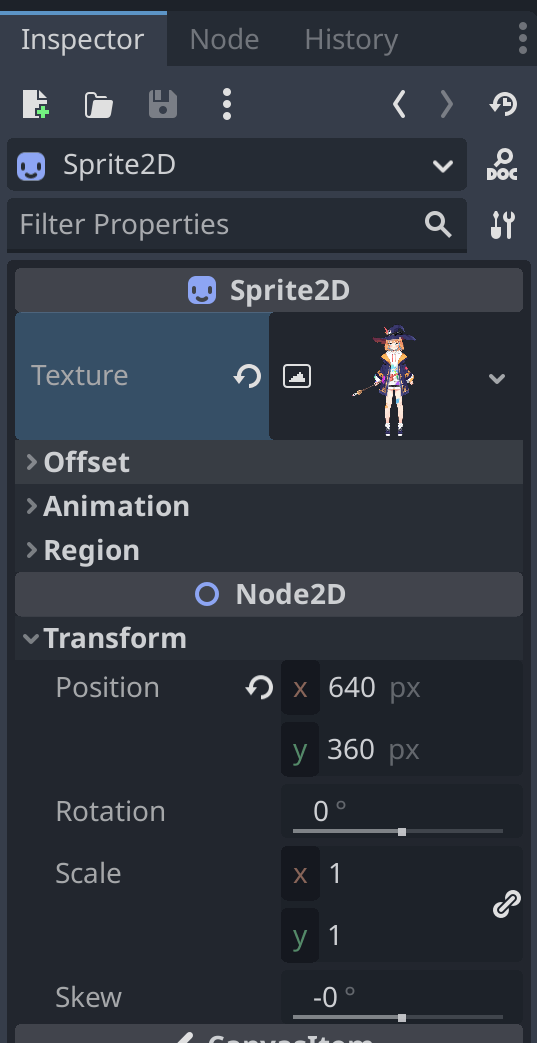
The Live2D model is also displayed at the Sprite2D position.
Troubleshooting
Model does not load properly
If the model file name is in Japanese, it will not load properly, so overwriting the file name output by the Cubism Editor and the reference in *.model3.json will work properly.
Blink does not occur normally
It is possible that the Ids for EyeBlink in *.model3.json is not specified. Please set it and re-export, or add ParamEyeLOpen and ParamEyeROpen to Ids.
Image Appears Blurry
Mipmap has been enabled for shaders from version 0.5 onwards.
If you wish to enable it, please re-import the texture being used in Live2D with Mipmap enabled.
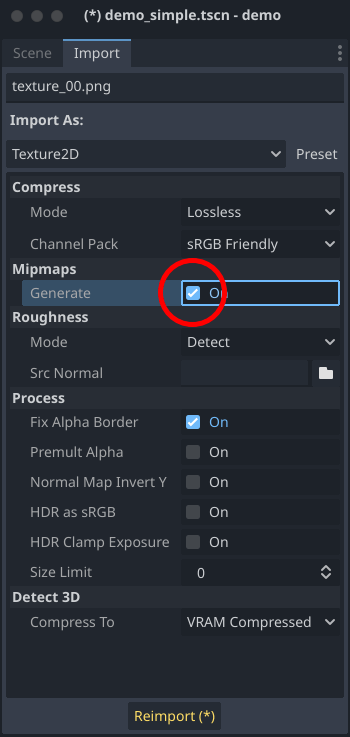
The effect of Mipmap is quite significant, however, depending on the image, it may appear blurry.
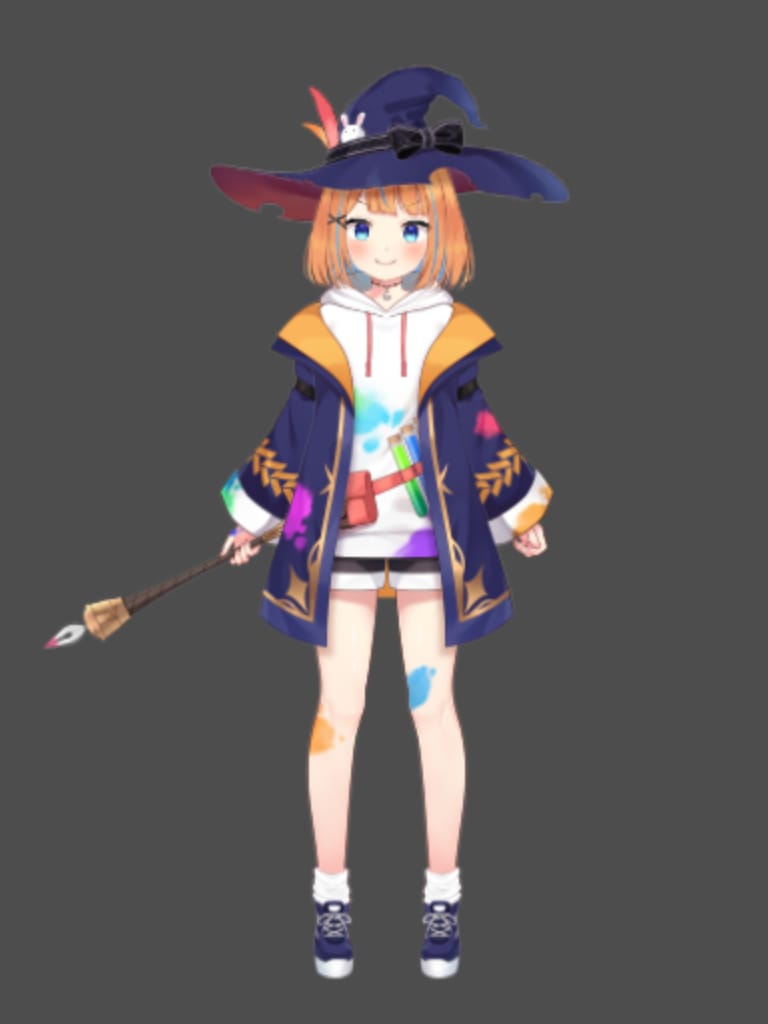
Without Mipmap Application

With Mipmap Application
Live2D Models Not Displayed When Exporting Projects
Live2D models utilize various files, which are internally processed by Live2D. Consequently, Godot Engine struggles to effectively package Live2D-related resources.
To ensure proper packaging, navigate to the Resources section in the Export screen. Here, directly specify the resources you are using and the folder containing these resources.
For detailed instructions, refer to the Resource options section in the official documentation on Exporting projects:
About the Demo
The demo folder contains the following items as samples. To run any of the samples, you will need the Live2D model of Nijiiro Mao.
This Live2D model can be downloaded from https://www.live2d.com.
Please arrange the contents of the downloaded file as follows:
-
(demo/addons/gd_cubism/example/res/live2d)
-
mao_pro_jp
-
runtime
-
expressions
-
…
-
-
map_pro_t02.4096
-
…
-
-
motions
-
…
-
-
mao_pro.cdi3.json
-
mao_pro.moc3
-
mao_pro.model3.json
-
mao_pro.physics3.json
-
mao_pro.pose3.json
-
-
mao_pro_t05.can3
-
mao_pro_t05.cmo3
-
-
If you want to try with your own model, please place the output referring to the above in demo/addons/gd_cubism/example/res/live2d.
Description of the Demo
| Name | Desc |
|---|---|
demo_effect_custom_01.tscn |
This is a sample using GDCubismEffectCustom. |
demo_effect_custom_02.tscn |
This is a sample using GDCubismEffectCustom. |
demo_effect_custom_03.tscn |
This is a sample using GDCubismEffectCustom. It performs a simple lip sync, moving the mouth according to the volume. |
demo_effect_hit_area.tscn |
This is a sample using GDCubismEffectHitArea. It also serves as a usage sample for the HitArea set in the Live2D model. |
demo_effect_target_pooint.tscn |
This is a sample using GDCubismEffectTargetPoint. The Live2D model will look in the direction of the mouse position. |
demo_fade.tscn |
A sample utilizing SubViewport to replicate the rendering method used prior to version 0.9. |
demo_simple.tscn |
This is a sample that displays the Live2D model only with a combination of Nodes. |
demo_transparent.tscn |
This is a sample that displays only the character by making the surroundings of the Live2D model transparent. |
viewer.tscn |
This is a sample that also serves as a simple viewer. You can play Expression and Motion. |
| The program is available in both GDScript and C# versions. You can check the operation by replacing the script assigned to the tscn file. |
API Reference / C# Support status
GDCubism provides a variety of classes. Please refer to the document linked below for how to use it.
| GDScript Class | C# Class | Features |
|---|---|---|
GDCubismEffectCS |
- |
|
GDCubismEffectBreathCS |
△ |
|
GDCubismEffectCustomCS |
○ |
|
GDCubismEffectEyeBlinkCS |
△ |
|
GDCubismEffectHitAreaCS |
○ |
|
GDCubismEffectTargetPointCS |
○ |
|
GDCubismMotionEntryCS |
x |
|
GDCubismMotionQueueEntryHandleCS |
x |
|
GDCubismValueAbsCS |
- |
|
GDCubismParameterCS |
○ |
|
GDCubismPartOpacityCS |
○ |
|
GDCubismUserModelCS |
○ |